How to Convert a WordPress Site to Static HTML Using Static Snap
Static Snap allows you to convert a WordPress website into a static HTML site. This is useful for improving load speed, reducing server management complexity, and enhancing website security. In this tutorial, you’ll learn how to install and configure the Static Snap plugin on your WordPress site to generate a static version of it.
You can read more about what Static Snap is and its benefits here
Prerequisites
Section titled PrerequisitesBefore you begin, make sure you have the following prerequisites:
- Install the Static Snap Plugin: A complete guide on how to install the Static Snap plugin on your WordPress site is available here.
- Access to the WordPress Admin Panel: Ensure you have administrative access to the WordPress site you want to convert to static.
- Basic WordPress Knowledge: Familiarity with installing plugins and navigating the WordPress admin interface is helpful.
- Optional - Hosting or Deployment Platform: Decide where you will host the static version of your site (e.g., GitHub Pages, Netlify, Vercel, or traditional web hosting).
- **Optional - GitHub **: A GitHub account if you plan to use GitHub for automated backups or deployment.
With these prerequisites met, you’re ready to proceed with the installation of Static Snap.
Basic Setup and Configuration
Section titled Basic Setup and ConfigurationAfter installing the plugin, Static Snap will create a default Production environment that can be customized in the Static Snap > Environments section.
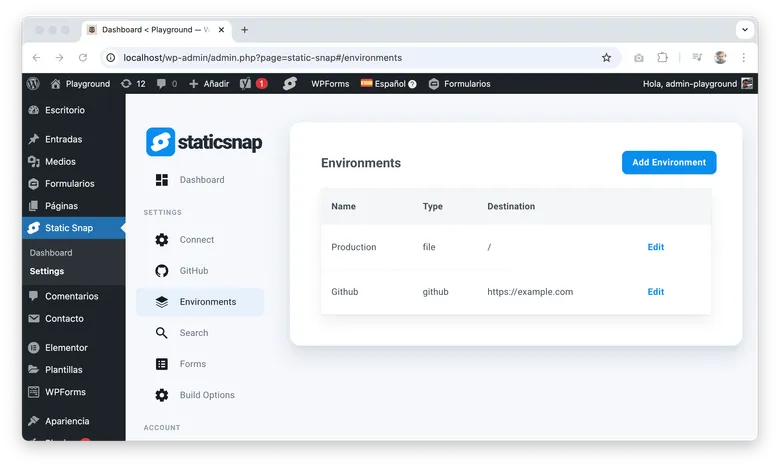
Environment Configuration
Section titled Environment ConfigurationNavigate to the Environments section and edit the default environment. Enable the Generate ZIP File option (if it’s not already enabled) to download a ZIP file containing your static site files.

Generating the Static Site
Section titled Generating the Static SiteOnce you have configured Static Snap, you’re ready to generate the static version of your WordPress site. Follow these steps to create and download your static files:
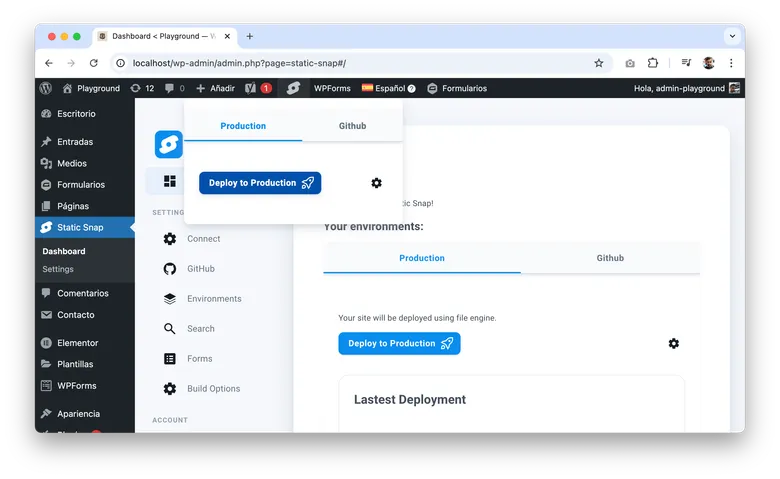
- In the WordPress top bar, click on the Static Snap icon. A dropdown will appear showing the available environments. Select the environment you want to generate and click on Deploy.
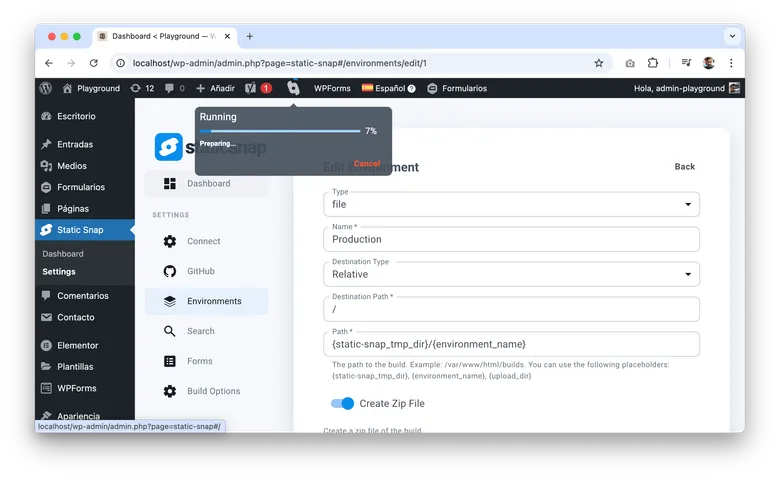
- The generation process will begin, and you can monitor the progress with the displayed progress bar. This process may take a few minutes depending on your site size and server capabilities.
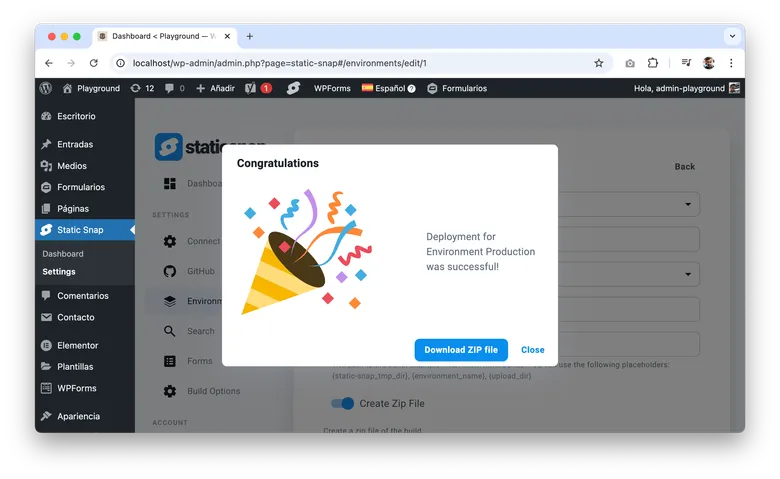
- Once the generation process is complete, a dialog box will appear where you can download a ZIP file containing your site’s static files.
- Extract the downloaded ZIP file and review the generated static files. You can upload these files to your hosting server or a deployment platform such as Cloudflare Pages, GitHub Pages, Netlify, or Vercel.